Showing posts with label Shuttle Tatting. Show all posts

Saturday, 24 November 2018

Ankhar Earrings


These earrings are based on Karen Cabrera’s
basic ankhar tutorial #105. Karen’s videos are brilliantly made, even though they’re backwards. 

This is an elegantly simple design, made just with rings on a single shuttle. An 8mm bead is fixed to each earring as part of the finishing loop. 

Use the Larks Head join to keep everything smooth. Again Karen Cabrera is my go-to for this technique, I use the original #85. 

Use small, decorative sized picots. There needs to be enough room to allow two joins, but still keep everything in tight. 

Don’t tat in the end at the beginning, use it to secure the bead and tension at the end. 

R1: 16-8
R2: 10+10
R3: 8+8-8
Repeat R2 and R3 until there’s 5 of each
R11: 8+16

Cut the end long. Thread behind each front ring and through R1 to the back to cinch the curve down. Thread the bead on, loop over R11 and back through the bead. Tie to first thread and stitch in ends. The ends can also be threaded back through between the rings to give a little extra tension and height, and tied around the base of R11 then just snip off closely. Fix an earring hook around the final ring.

Make the second earring the same way. When finishing, make sure the rings overlap the other way around, and fix the earring hook to the other end.

Last year, I was attaching findings to picots. Unfortunately, the hooks I use seem to have too big of a gap to be securely attached to a mere picot and couple of my gifts wandered off by themselves. I've now taken to fixing the hooks around an entire ring, so there's no chance of them going anywhere and I don't have to worry about adding random picots.

The ankhar earrings pictured are made with #20 Milford Mercer in Black and 8mm glass beads. 

Tuesday, 1 May 2018

Distracted by String


I’ve been very lax in posting as I’ve been obsessively busy making things. I thought I had calmed down enough to spend a bit of arts and crafts time writing about arts and crafts but aparently not. So here’s what I’ve been making!


A hideous pair of socks!
Mister has one foot slightly larger than the other from an old injury so I thought it would be nice to make him a pair of socks that fit both feet. Maybe with a couple more tries they could be wearable. 


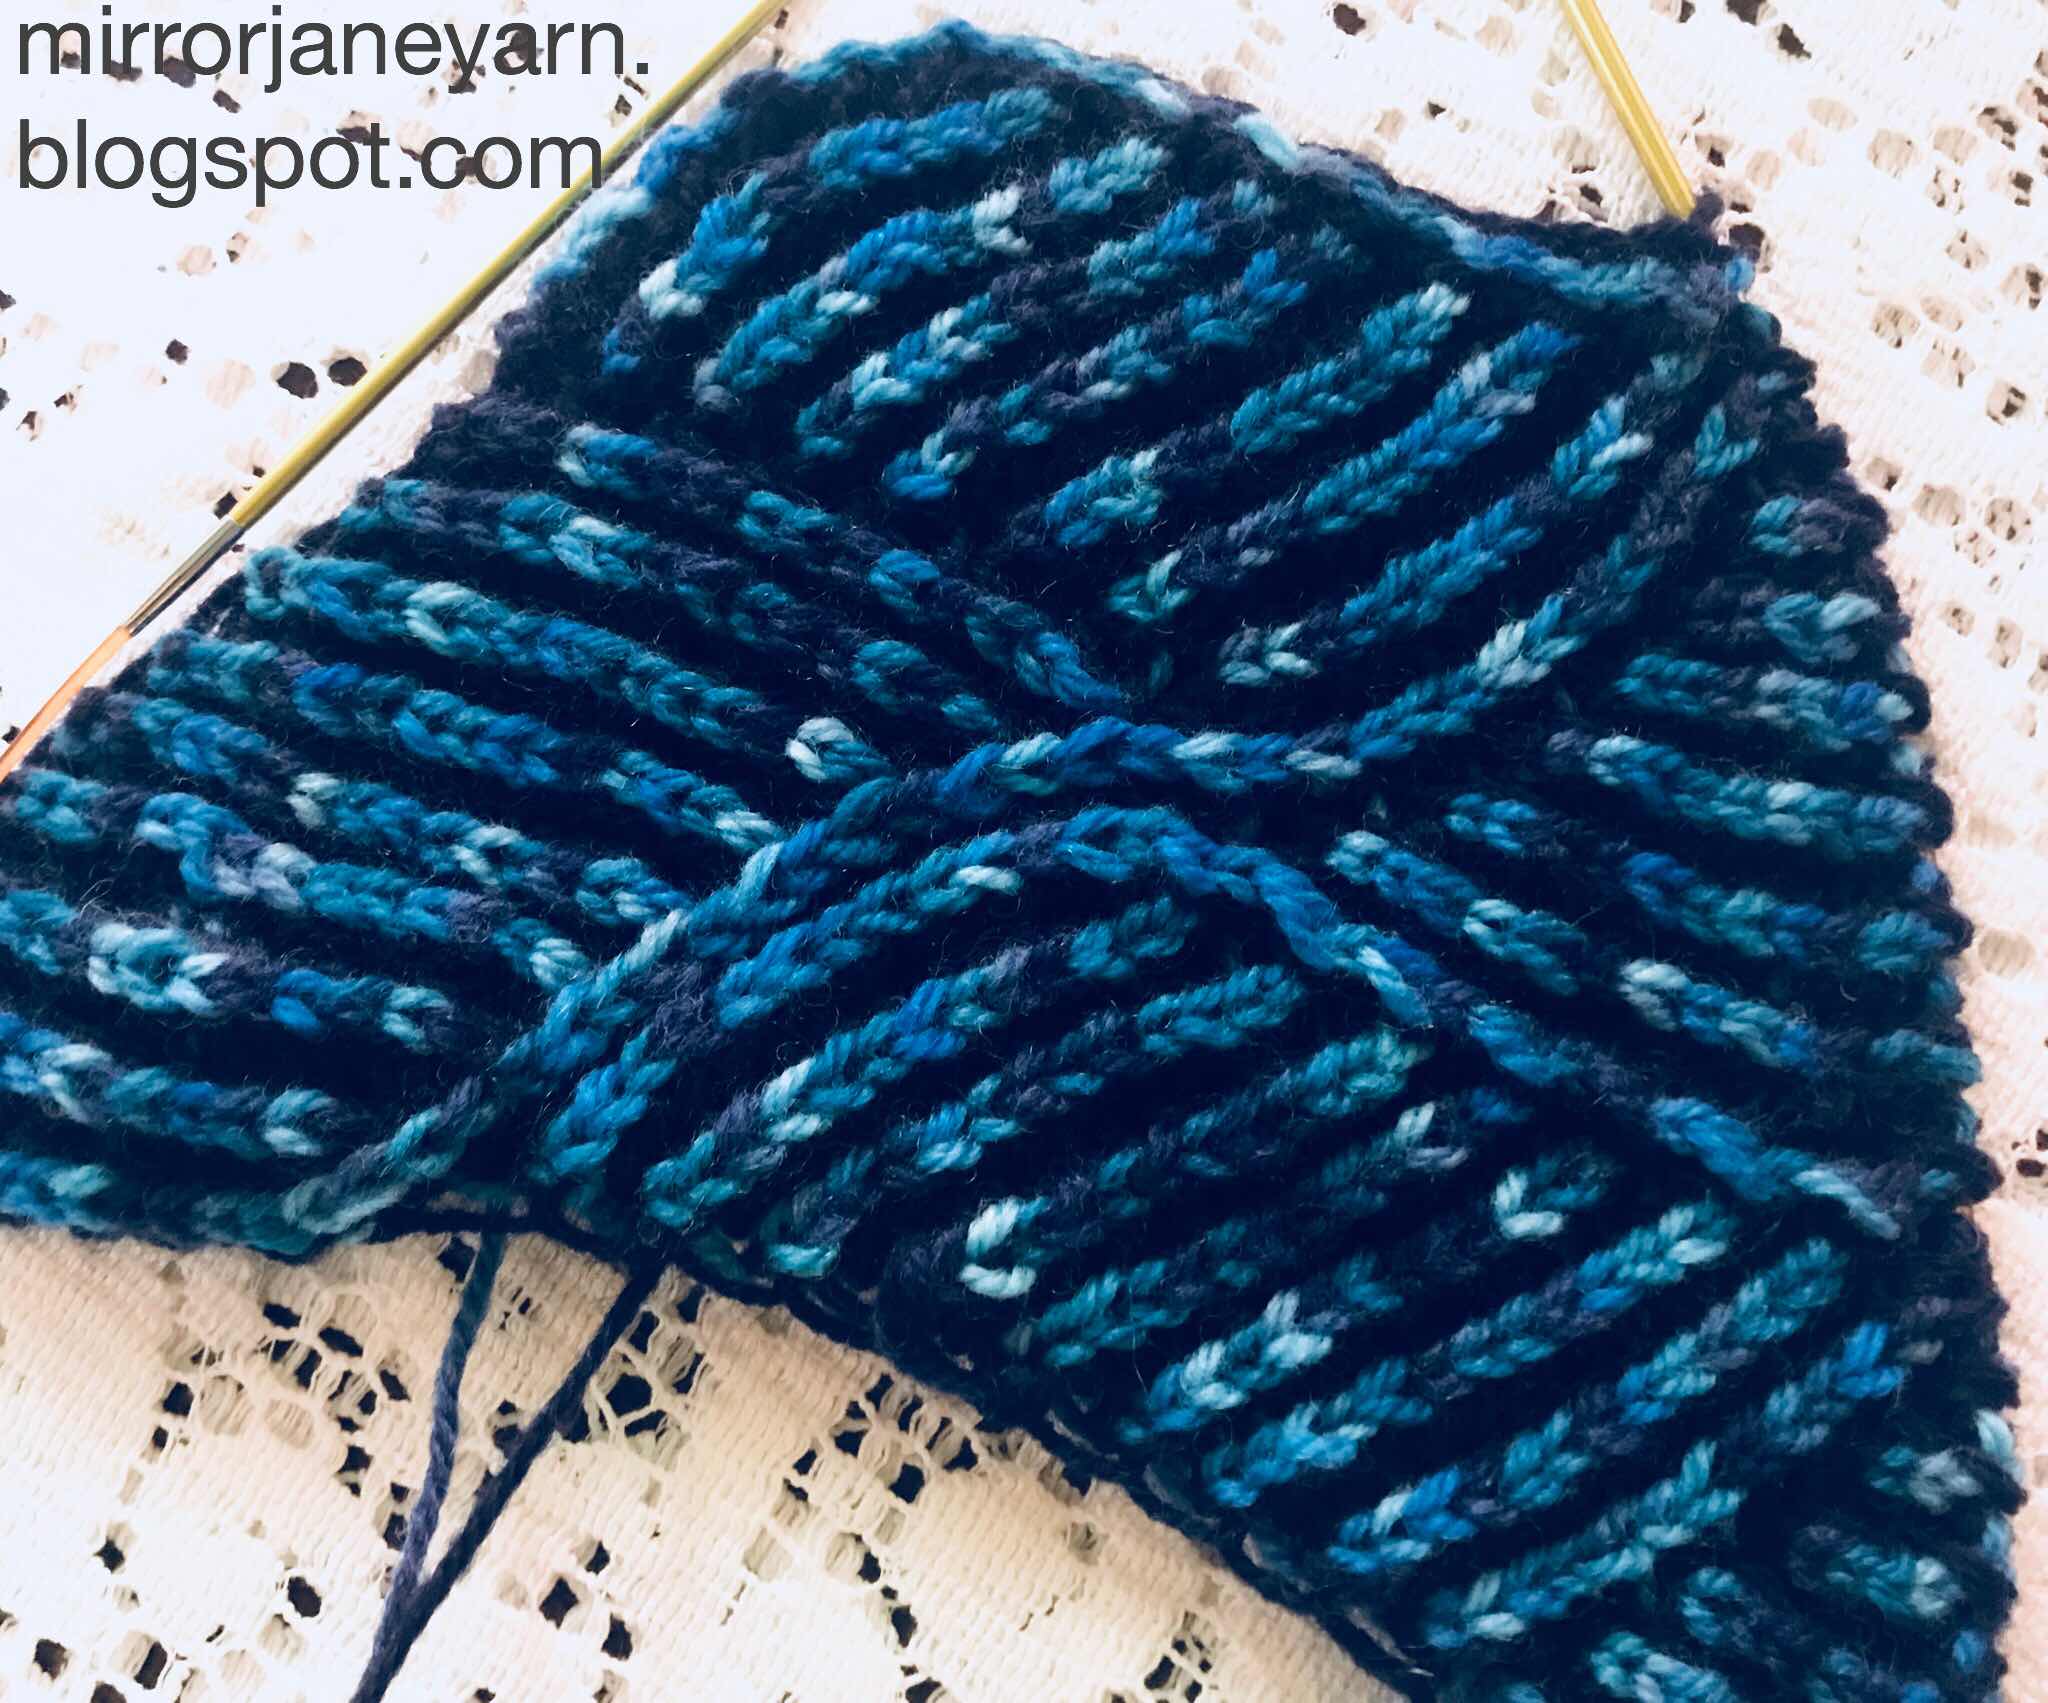
A brioche scarf!
A gift for my father who will probably think it’s too shapey but, hopefully, will enjoy the squishyness. 


A slightly less hideous pair of socks!
More practise still required. And a new bind off. 


A lace cowl!
Turns out I can’t work a lace piece and a brioche piece at the same time, my fingers get confused as to what they’re supposed to be doing with yarn-overs. My own fault, I suppose, for trying to do everything at once!


A necklace!
The piece-de-resistance and four weeks solid effort. Some happy tatting, but a lot of un-tatting and frustration. Many times did I happily finish a section, put it on and be horribly disappointed with the way it puckered, gaped or cupped. Even after three attempts at trial runs.
All positive credit to Marilee Rockley, whose beautiful work hand-dyeing thread inspired me to attempt it myself and acutually get the colours I needed, and for her beautiful Beguile design on which this piece is based. It is only my inexpert additions and fuddling about that caused my issues. 
I take my hat off to all of the designers out there, your efforts are amazing and it will be a long time before I attempt any such thing again!

This piece was made with Lizbeth 10  thread in what was originally Bright Dark Turquoise #663 and Turquiose Twist #142. However, I dyed over it with some half-strength Dylon Tropical Green to make a more greeny shade of teal to suit my Nan, to whom I gave it as a birthday gift. 

Wednesday, 14 February 2018

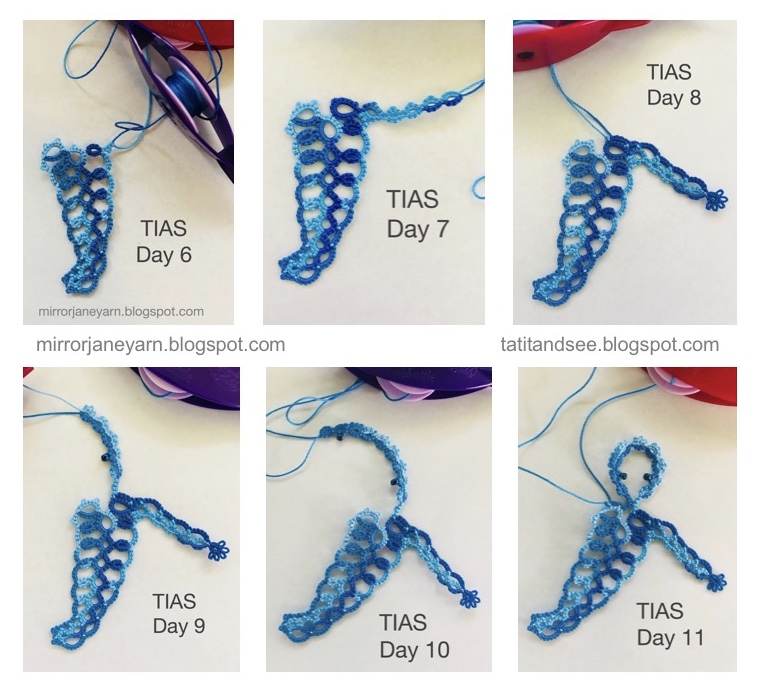
More TIAS

It's coming together! Check out the game at Tat It and See.

As always, I'm enjoying working Jane's pattern. They are so well written and worked, I love how she presents backside elements.

The split rings have been so tiny and I had a couple of moments getting my head around some of the direction changes with the chains, but careful reading and following the thread has got me thus far without any dramas.


Saturday, 27 January 2018

Tat It and See - Backwards!

I’ve been so excited to participate in Jane’s Tat It and See game. I’ve been away, so I’m a bit behind the times, but it looks like I’m the only one so far messing this up by doing it backwards! I’ll be posting my attempts, failures, and what variations I’ve made. I’ve mostly found that if I ignore the diagram, I can work from written instructions with few dramas as long as I follow what my thread is doing. So far, that is the case with TIAS 18, but Jane’s designs are so fun and creative, this will surely get very interesting.

Left-Handed TIAS Days 1-4


Split rings and ring clusters are what I have found causes the most controversy when working the opposite way to which the pattern was written, but with the chains connecting things on Day 3, it's been okay so far. Again, as long as I worked from the instructions and not try to copy the diagram, when things started to get interesting on Day 2 there weren't any problems. But, my goodness, those Day 4 rings are tiny!


I've included the pattern here so my little seahorse can look at his reflection! My tail is a bit curlier, but I try not to argue with what the thread wants to do, especially when I have no idea what I'm trying to do, it works out much easier that way.

I'm working in Lizbeth 20  #149 Peacock Blues, another stunningly gorgeous colour way that makes me so happy!

Saturday, 13 January 2018

Mirror Vision

Mirror Vision Necklace


Marilee Rockley is amazing. I’m loving making her Vision necklace, which is available as a PDF from her awesome blog. It’s the perfect pattern for those of us tatting backwards, because it’s already a mirror of itself!

When working left-handed, just follow the pattern as it’s written and you make the right hand side of the necklace first. Then just follow the instructions to mirror it. As there’s only one ring cluster, and the first thing Marilee does is tell us how to deal with it, all you need to do is keep an eye on which side you’re working. Which is also super simple as the first thing you make is a huge ring of picots. It feels a bit big and a bit technical, but it’s so beautifully constructed, it just comes together.

I’ve put to use a few beading tips I’ve seen since I swore off the bloody things a couple of months back, and it makes such a huge difference. Paperclips and floss threaders. My gushing rant became too long and I need to take some photos so I'll leave you with that inspiration and make another dedicated post soon.

I’m already shopping for new yarn and beads to work this necklace up properly. It's so pretty and so much fun to make!

This test piece #2 pictured is worked in Milford Perle 10 in Periwinkle with 6mm large bead, squashed 4mm medium beads and size 12 seed beads.. The last rick-rack chain is missing because I ran out of thread on my shuttle and barely made it through the preceding split rings!

Monday, 1 January 2018

Mary Konoir’s Spinning Wheel

I loved the flowing, twirling movement of the spinning wheel the first moment I saw it. I haven’t managed to get my hands on a Mary Konior book yet, but I’m hopeful. All of her designs I see have an elegant, modern flow that just grabs me.
I loved figuring out this pattern, working it was a joy and I am quite delighted that it came out spinning the opposite direction. 


This one is worked in Milford Mercer 20 in the aptly named Ombré Purple. In this size it’s perfect for admiring through the bottom of a wine glass. 

I worked from Sarah’s picot-less version at Lace and Bees. I’m also pretty subtle in the picot department as you can see. I did shorten the chains from the centre for this version, which resulted in the wheel having 8 arms instead of 9. I thought this could be fun to try with alternating coloured arms, as well as experiments with how many arms one could fit in if given enough central space.

I have a feeling that, depending on interesting yarn availability, I will soon own more coasters than is at all practicable.

Saturday, 23 December 2017

Dillmont Triangles


The Dillmont inspired braid from Tatting by the Bay was the first piece I got to play with split rings, and one of the most interesting so far to work backwards.
With her amazing design and tech skills, Robin has put together her diagram left-handed for us. 

Left-handed Dillmont Braid


This is a two shuttle pattern, with the red worked with shuttle 1 and blue with shuttle 2. Once you’ve got the hang of the first few triangles, you can make so many things with this pattern. You just need to think about where the split ring will go. Robin includes on her blog the braid shown here, then, expanding from there, a bookmark, mat and hexagonal doily. I've used just the original braid as a bookmark and made a couple of pairs of earrings as well as a serviceable but particularly unspectacular coaster - learning is fun!

Dillmont Variations

Tricky parts for these are the split ring, upside down larks head joins and second shuttle split ring joins. I haven't found a method for the last that I'm super happy with, yet. Be sure to sure to mark the shuttles if you have a matching pair, it gets confusing really quick! Great practice for working two shuttles, split rings and getting the right tension when starting new rings in clusters.
I did complicate this for myself with my preference for frontside/backside and larks head joins, so if you're not so fussy it's a much simpler pattern.


The pieces shown are worked in Milford Mercer 20, Indigo and Black, and Lizbeth 20 #184 Rainbow Splash.

Thanks Robin!

Saturday, 9 December 2017

Super Rainbow Florets


I am completely enamoured with this Rainbow Lizbeth thread. Amazon makes the world a much better place. The colours work absolutely perfectly within this adaptation of Muskaan's Layered Extension of Simplicity.
Her post about central picots and This Way or Tat series is fantastic, and has a brilliant explanation of the central picot. For my long picot, I measured back 5 double stitches. Unfortunately, it doesn't disappear because the colours are just too awesome. These photos do not do it justice.

Work with shuttle and ball, preferably starting from a continuous thread. I tied one of these first, but I don't like the knot. Better to loop together to get started, then knot on the backside and thread the tails in.

R1: 8 long picot 8 (I measured back along my work 5 ds)
C1: 4-4
R2: 8+8
Join all of the rings to the central picot, I use larks head joins.
Repeat C1, R2 for a total of 8 rings, and a complete round of chains.

These could be so fun with some beads, but I was just enjoying the colours.


Pieces shown tatted with Lizbeth #20 in Rainbow Splash #184.

Monday, 27 November 2017

Classic Earrings


These earrings are based on the lovely Volta design from koronczarnia.pl. Apparently beads drilled to dangle aren't fashionable where I shop at the moment, so I use a triplet of seed beads at the bottom ring.

I prefer everything to look even and perfect so I generally work frontside. It's nice and easy with this pattern, just the chains are backside. Larks head joins make this super neat and make it sit nice and flat without blocking or hardening. That does mean the chain joins are upside-down, but it makes it a bit more fun.

Edit: These earrings were gifted to my Mum, who felt awful when she suddenly wasn't wearing one of them. I've since stopped joining the hook fittings to a single picot, as the lost earring flipped up and slipped out. I'd recommend making a small thrown ring instead of the small picot at the top, or omitting it altogether and looping the fitting around Ring 2.

1 shuttle + ball
9 seed beads, 1 centre bead

lbp - long bead picot
jp - tiny joining picot
sdp - small, decorative picot
JC# - join to picot on chain #
JR# - join to picot on ring #
JR#B - join to long picot on ring # with bead
(#beads) - move # beads to working loop
(#b) - make picot with # beads
CL - close loop 
RW - reverse work

3 seed beads on shuttle

R1: 5 lbp 8 jp 3 CL
R2: 3 JR1 7 sdp 7 jp 3 CL
R3: 3 JR2 8 lbp 5 CL
RW C1: 2 jp 8
RW R4: 4 JR3B 9 jp 1 CL
R5: 1 JR4 9 lbp 4 CL
RW C2: 8 jp 2

The next set is basically a repeat, just with the beads instead of the hanging picot and some different joins.

R6: 5 JR5B 8 jp 3 CL
R7 (3beads): 3 JR1 7 (3b) 7 jp 3 CL
R8: 3 JR2 8 lbp 5 CL
RW C3: 2 JC2 8
RW R9: 4 JR8B 9 jp 1 CL
R10: 1 JR9 9 JR1B 4 CL
RW C4: 8 JC1 2

Cut ends long, tie off. Thread one end through chain join, thread seed, centre, seed beads on and thread through other chain join. Thread back through beads and tie off.


The earrings pictured are worked in Milford #20 Royal Blue with size 12 seed beads and 6mm centre beads.

90% Backwards

I learnt to tat from YouTube, a great beginner series by Esther.
90% of general folk are right handed, as are 100% of the good tatters on YouTube. So I did it right handed too, terribly awkwardly, until I understood the basic stitches well enough to mirror it and work the right way around, with the shuttle in my left hand and loom on the right. 


Then the fun really started. 

No pattern worked. The rings wouldn’t face the right way and never lined up to connect to the next picot properly. Chains stuck out the wrong way and upside down. Every join I had to turn the whole piece around. 

When everything is worked in circles, it really does matter which direction you go. Working left-handed means each ring is formed anti-clockwise, and the next element starts to the left of the last. Most patterns out there are worked clockwise from left to right. 

Here is a rare left-handed pattern from a Russian site I haven’t figured out how to translate.


All of the patterns I have worked and put up here are written out like this, to be worked anti-clockwise, from right to left. Hopefully I can help save someone from the brain-knarl of getting halfway through a pattern and not knowing which way is up anymore!